Showing posts with label album. Show all posts

Thursday, October 17, 2013

30 Days of Gratitude


30daywoodweb

I'm starting to prepare my pages for Cathy Zielske's 30 Days of Gratitude beginning November 1st.  Hard to believe it's mid-October already and I know I'll need time to get this put together.  
I'm using her printable kit from 2012 as I still haven't mastered Photoshop.  The link describing it is here:

http://cathyzielske.typepad.com/my_weblog/2012/10/30-days-of-thankful-a-gratitude-album-project.html

Cathy's blog just announced the 2013 kit  (a digital kit only) and you can find that information here:

http://cathyzielske.typepad.com/my_weblog/2013/10/announcing-the-30-days-of-thankful-album-project-for-2013.html?cid=6a00d8341c5c3753ef019b000ca98d970c#comment-6a00d8341c5c3753ef019b000ca98d970c

This is my first year doing a gratitude journal but I hope it will be the start of a regular practice.  
What about you?  Do you keep a gratitude journal or gratitude album?

Note:  The wood veneer in the photo at the top is Cathy Zielske's design and can be purchased at www.studiocalico.com

Saturday, July 16, 2011

Projects update

Layout for Finding Photo Freedom and MotherLOAD
(photos are from 1975)
 
Photo Central has moved from dining room to living room

Dining room is now Layout Central
I'm keeping up with Finding Photo Freedom and MotherLOAD fairly well.  I don't get all of the tasks done in the week they are assigned but I'm working consistently on my digital workflow, still organizing straggler photos (like bunny rabbits more keep popping up!), and just getting a good sense of what I have, what's done, what needs to be done and beginning to work on creating layouts regularly.  Right now my 2009 photos seem to be missing (there's only 97 from that year but still what could I have done with them?  They should be in a storage binder but it ends at 2008 and I just realized this.  I have then on CD so I can reprint if need be but....I don't like mysteries like this!  Earlier this week I was having problems with Picasa and as typical I just needed to let it sit for a day and come back to it.  Problem solved and everything is sorted properly.  I was pleasantly suprised this week when I got all my albums in one place and went through them page by page that so many were actually finished and the others only need 2-4 things done in them.  I also found a large number of layouts that were completed but had no home - I hope to remedy that soon. I've made a list of what needs to be completed in which albums and where gaps in albums are.  I will be taking all my pages out of these albums and moving them to We R Memory Keepers Classic Leather 3 ring albums as time and money allow.  I just ordered my first 3 in cobalt.  We're in Week 7 in Finding Photo Freedom and we actually have 2 weeks for this task list.  MotherLOAD is in its 3rd week and is starting out slowly and will build as we get to the Marathon part in September.
So as things shift I've moved all my albums, my storage binders, category drawers, cold storage box, memorabilia box, family tree drawer, 2 piles of more things I just found this morning and a box with all my film cartridges, index prints and negatives are now in my living room,  Lily, our dog, is not happy as that corner is where her doggie toybox used to be.  The dining room (previously Photo Central) is now Layout Central.  The dining room table has all my Project Life and A Week in the Life stuff in the far end and this end is ready for layout making - I have 2 double layouts in the making right now.  I do need to do some catching up on my Project Life album. I just picked up some photos I was waiting for this morning and should be able to work on that tomorrow.  So that's where I am for now....

Friday, July 16, 2010

Accordion album

I'm so happy I figured out how to get the photos facing in the right directions - looks so much better.  Amazing how the small things can make us so happy!  Here is the accordion album that was part of the 9,000 piece kit from Cosmo Cricket.  All the edges are distressed with a Close To My Heart brown ink pad.  Most of the papers did not need a lot of distressing as they already had a "distressed" look to them.  I did not use adhesive on the top of the photo frames and was careful to put the adhesive on the very outside edge of the frames so that a photo could be slid in.  Photos can also be placed on the tags with journaling placed on the back of the tags. 

Tuesday, July 13, 2010

More projects

When I posted the pictures on July 11th I kept looking at the grouping and thought boy, this doesn't seem like much for all the time and work it took!  Well, that's because I forgot to include the 2 album set (see photo at right) that was part of this Cosmo Cricket 9,000 piece kit!  I've also included photos from one 2 page layout from each album.  Like the other projects they are intended for Christmas photos.  All of the items just need photos and personalization/journaling although there is room for more embellishment if wanted.

Did you notice that photos are all oriented in the right direction?  Yay!!  I figured out how to get them rotated finally.  Thanks for your patience!

Wednesday, June 30, 2010

Milestones & Moments Album

Another item that I have finished this week while I'm on vacation!  As usual the photo of the cover is not correctly positioned so I hope you can seet it all right in spite of that.I really like the saying on the little green file folder (I'm a sucker for  quotes - how do people think these up and how do they become part of our culture?!)
"Life isn't a matter of milestones but of moments."

Tuesday, June 22, 2010

Closer Look

Here is a closer look at what is holding the Generation Grunge album together.  The rings are actually holding the album together while the grunge hinges are strictly decorative.  The back has the clock paper (from the Lost & Found paper pack and in the other photo you can get a better look at the other decorative elements.

Sunday, June 20, 2010

Inside Pages -Generation Grunge album

I have to apologize for not posting these sooner for anyone that was waiting to see the inside pages of the album.  Blogger has made some changes and so instead of posting these I was playing around trying to make some improvements to this blog (unsuccessfully, I might add!).  I'm giving it a rest and will try again another day.  Then I've been spending my time outdoors while the weather is nice!  Summer is my time to visit my favorite places.
So on to the pages of the book.  First off, I'd like to let you know that this Grungebook is no longer available.  I love the curved lines of it.  Tim has new books coming out later this summer that will be basic shapes that you will be able to cut after you adhere your paper to the pages so that there will be less steps (and work!) to the project.  I think that's a great idea because that was the most time consuming part of this project to trim the paper edges to match the pages.  Also somewhat fustrating trying to get a nice looking edge.  The papers used are from Tim Holtz's Lost & Found paper pack.  One of the neat things I learned from Tim about his paper packs (enabler alert) is that they are made for a variety of projects.  This is kind of hard to explain without seeing the paper itself but as you flip through the pack and look closely you will see that you can different pages down for different size projects including inchies!  So once the paper was adhered to the pages and trimmed they were then distressed.  Next post will have close-ups of the grunge hinges.

Thursday, June 17, 2010

Generation Grunge albums - Tim's and mine

The album with "thoughts" along the bottom is Tim's album. The one with the teal accents is mine. Look close my bird is inside the cage. This album is from the Generation Grunge workshop. I'll post a look at the inside pages of mine tomorrow.


Thursday, May 20, 2010

Paper Album

Here is a quick & easy gift idea. Have you noticed how often "quick & easy" appears in my projects? I've had these paper album kits for awhile & I knew what I wanted to do with them for a gift ideas - I just needed to get the photos developed (that took a lot longer than putting the album together. The paper album kit (Preppy Patterns) is from Creative Memories & while this one no longer appears to be available they have some other very cute ones on their website now. The kits include the paper album, matching papers & coordinating embellishments. I did add a vellum saying from Quick Quotes and a few other things I had already. The title was made from SnipIts. stickers from Tidbits. The ribbon on the front cover was already part of the album as was the round opening for the photo. The only cutting that was needed was for the photo mats. As I said it was really easy.

Sunday, April 25, 2010

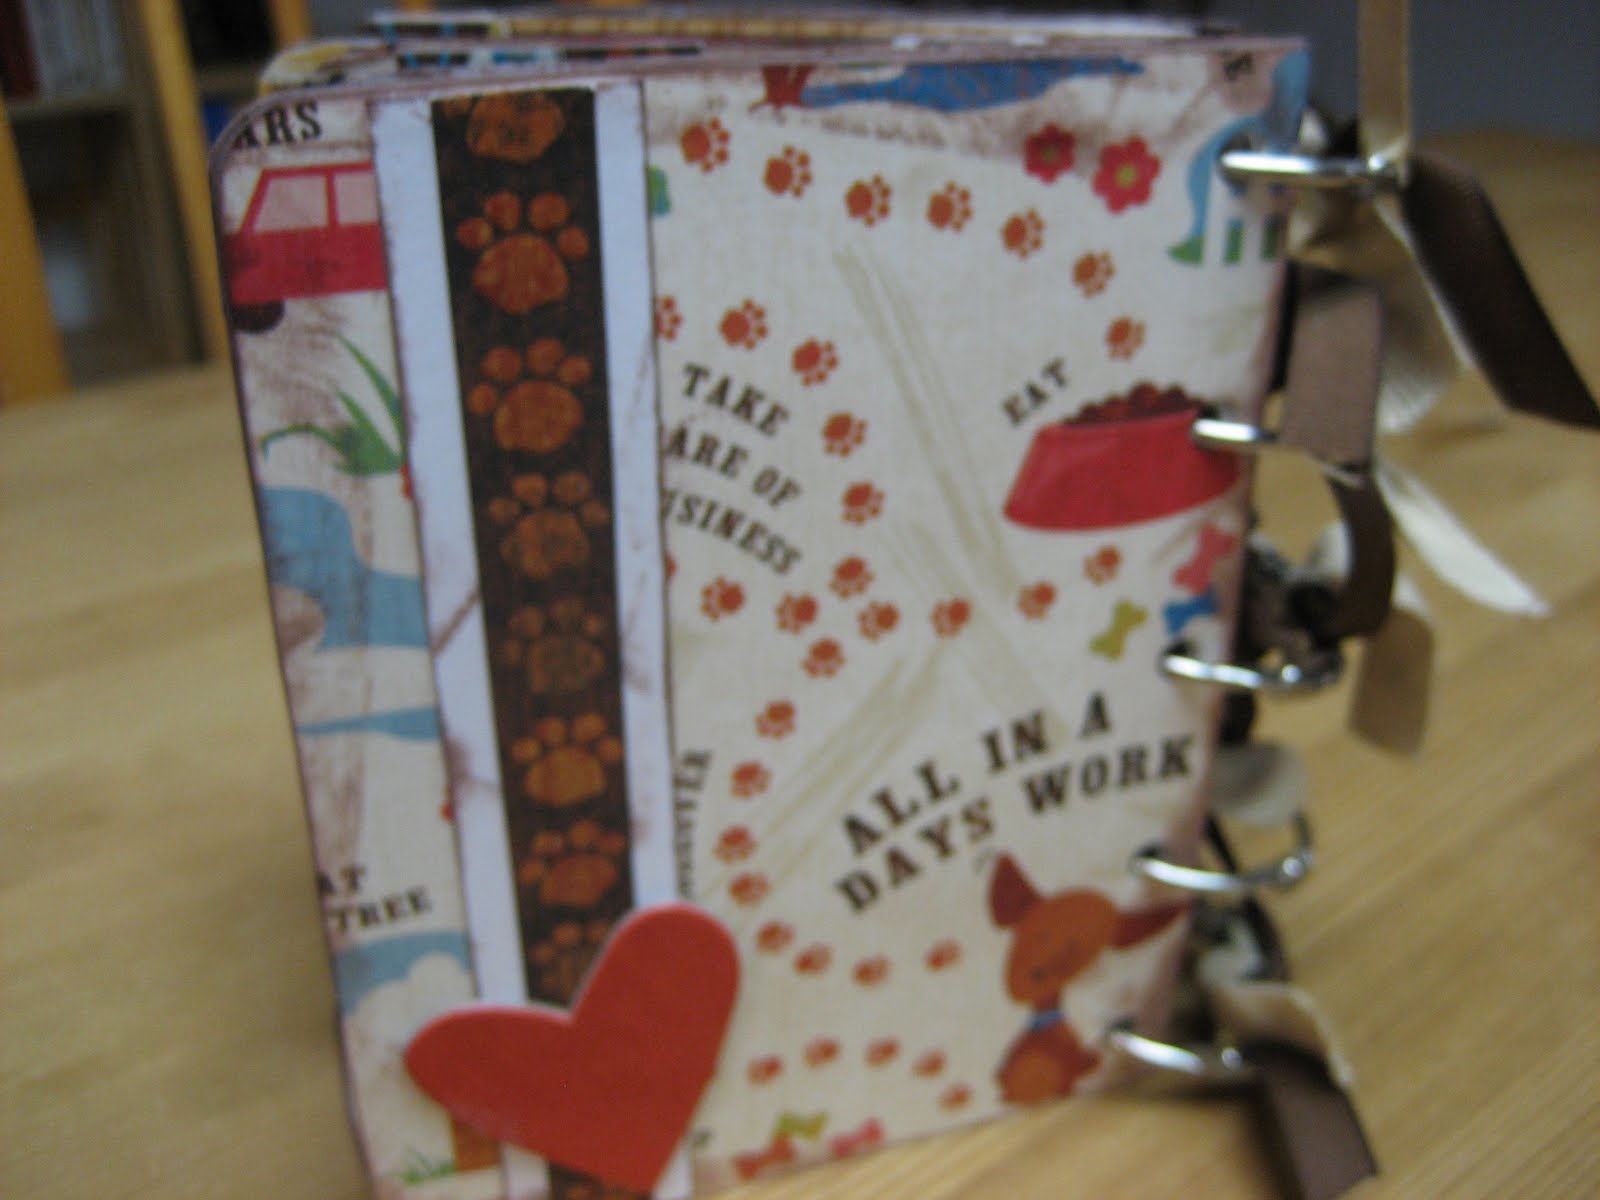
My Dog Album

I made this chipboard album with a kit from The Button Farm. I liked this kit for a couple of reasons. First, it had everything I needed except ink , adhesives & tools in it and it all coordinated. I like not having to go to a bunch of places to find what i need for a project. Angela at The Button Farm does a great job putting beautiful kits together. I hope to take a class with her at Buffalo Stamps & Such in May. The other reason I liked this kit is that it was my first chipboard album and with this kit you even used the chipboard box that the chipboard alphabet & embellishments came in! Very clever! In the one photo (sorry, I haven't figured out how to get the photos in the order I want yet) you can see clear through to the page before and after - that's the top from the chipboard box. I love the papers - they are textured so they were fun to work with. There's no photos in it as I'm going to be giving this as a gift but I'm really tempted to keep it for myself.


Sunday, April 18, 2010

Arrow album

I thought I would post twice today since I missed yesterday. Although I read in some blogging info. that its best to post on weekdays as most people take a break on the weekends from their computers. Anyways this is an acrylix album that I did that is unusual in its page format. Every page is a different shape. Its a 3 ring album and many of the pages are half pages and open independently of each other. A consideration with this type of album is your photo placement since the person looking at the album may open the top half of the page & see the top part of the next page before they turn the bottom half. Its a really fun album and certainly makes you think about adding fun elements like these pages into your projects.


Wednesday, April 14, 2010

Admit One album


I tried to put the photos in the right order but they turned out with the inside photos on top and the album cover to the right. A techie, I'm not!
This is a cute idea for that special someone for an anniversary, Valentine's day or absolutely no reason at all. Lots of places for photos and a lot of pockets for journaling, "love notes" or memorabilia of special times!


Monday, April 12, 2010

A Peek into my Week album

Here's another project that I have completed recently. I have a bad habit of starting a project, getting distracted & then not getting back to it for a few months. Does this happen to you? I have about 10 projects in a box that are in various stages of completion waiting for me to finish. I'll post photos of them as I finish.
Anyways, on this album there are 2 pages for each day. One side has space for a photo and the other side has a pocket for adding items such as receipts, ticket stubs, notes, etc. A photo could be added to the front of the pocket as well. Various flowers such as those on the front decorate the album throughout.